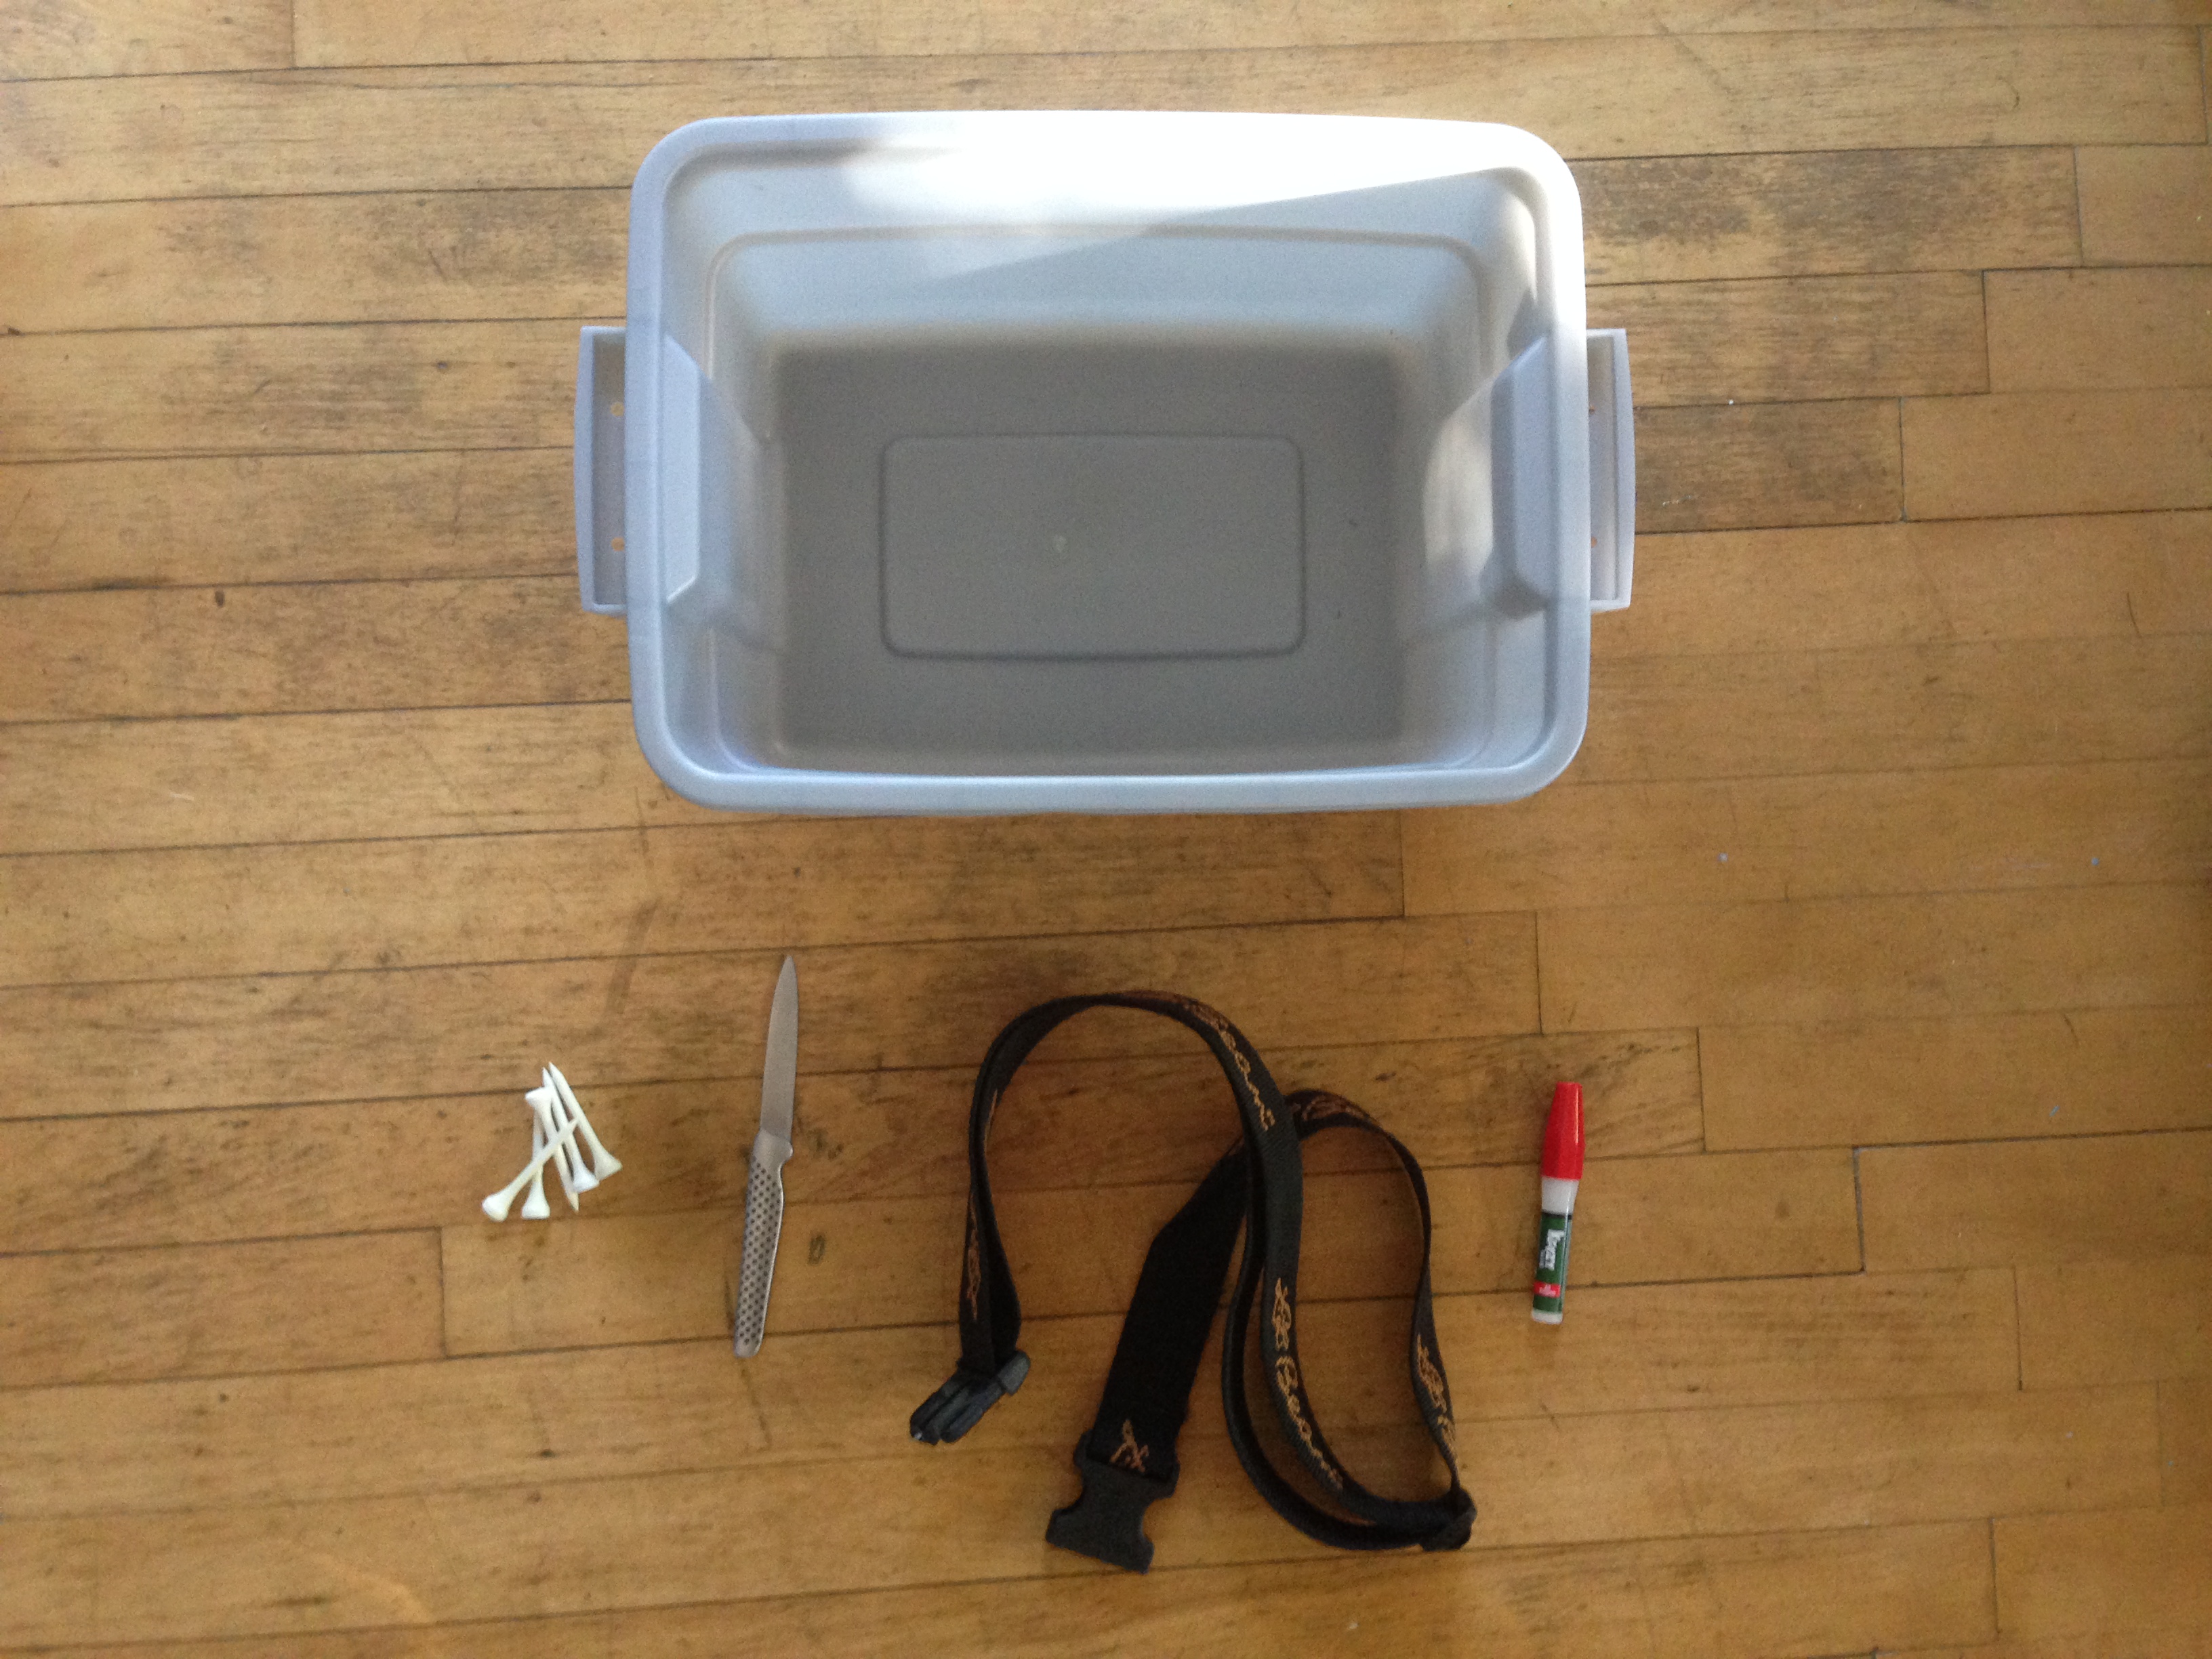
The ingredients of a DIY stripping basket: simple, functional, cheap.
Of the list of essential items that one needs to fly fish successfully in saltwater, I consider the stripping basket an absolutely essential item. It can also be an expensive one.
Consider that, in warm weather, you can often wade wet — in fact, I know some who insist on wet wading. Or that you could get away with regular sunglasses (though I wouldn’t recommend it!). Or that you could fish with one favored fly — a clouser, or a gurgler, or something.
But what do you do if your line is so tangled in seaweed and the rocks below that you can’t cast your line? You spend the night untangling line, making short casts, and not catching fish.
Once you accept you need one, you start looking for one to buy. At the moment, the dominant solid plastic stripping basket (and, in my opinion, the solid ones are superior to all the other products) is $80. If you’re a penny pinching Yank like me, you think: “That’s a lot for a piece of plastic!”
The DIY stripping basket is a great approach. I’ve made a few. Below is what I’ve learned, and what I’d recommend.
Top 5 DIY Stripping Basket Tips:
1. Do NOT punch drainage holes in the bottom. The first one I made I put small holes in the bottom, thinking I was so clever adding drainage holes. That feeling lasted until I waded out with it for the first time and it instantly filled with water and soon felt like an anchor hanging from my waist. My weighted line sunk to the bottom of the basket, making it hard to shoot line. And, should I have lost my footing, it would have tried to carry me to meet Davey Jones.
2. Punching holes for your spikes — go for it! I don’t always do it, as it depends on which spikes you use, but it often extends the life of the basket.
3. When considering which spikes to put on the bottom of your basket, consider your line first. Some people use nylon cable ties to keep the line separated. I fear the cheap, sharp, and hard edges of the nylon ties can scrape up very expensive line. Opt instead for something smooth and round. One thing I like for this are long plastic golf tees, plastic wire nuts, and plastic or rubber chair floor protectors. Whatever you choose, you want to make sure its either straight or tapered such that the small end faces up.
4. Reinforce the holes you cut for your belt. Depending on the plastic, these can quickly crack, and your basket will start taking on water.
5. Do NOT try to cut half-moon holes in which to rest your rod, like the Orvis or old LLBean basket had. You will only create a jagged edge, requiring a lot of resin/glue to fix. If you need a place to put it, it’s just as easy to tuck your rod in between the stripping basket and your waist.
6. It’s not about how it looks! It’s about how it works. (Ok, so six tips!)
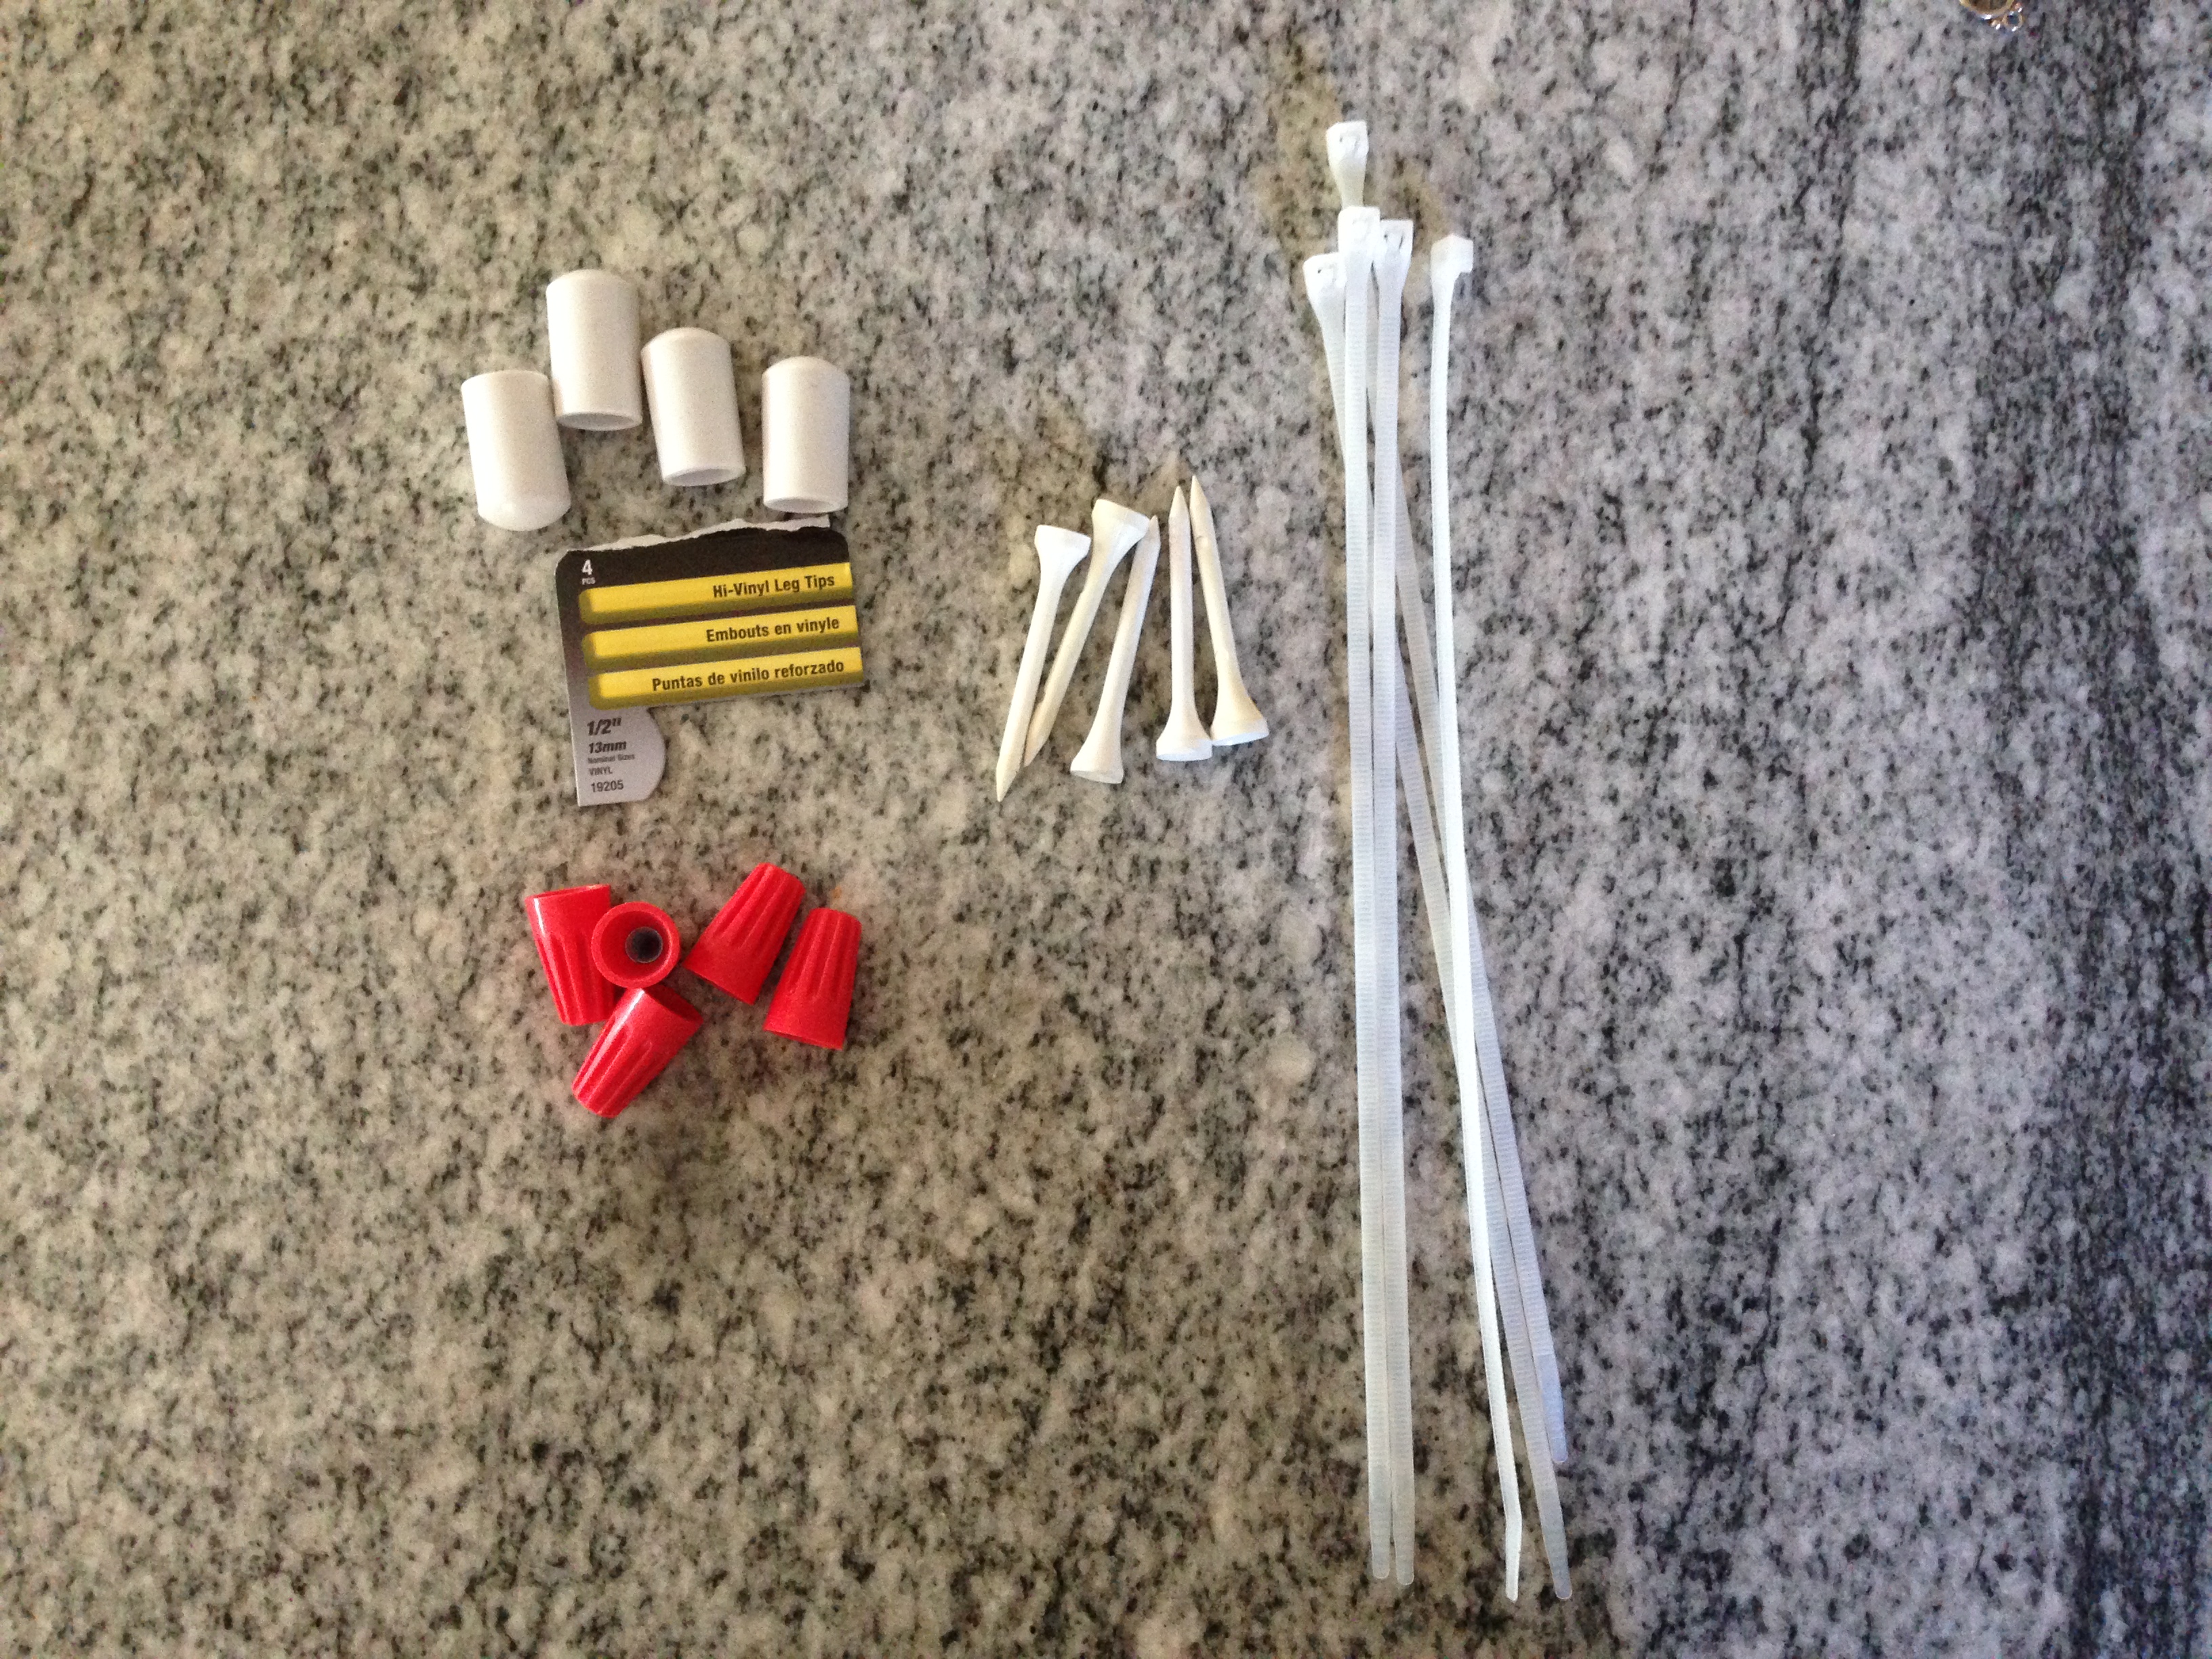
Some options for keeping your line separated.
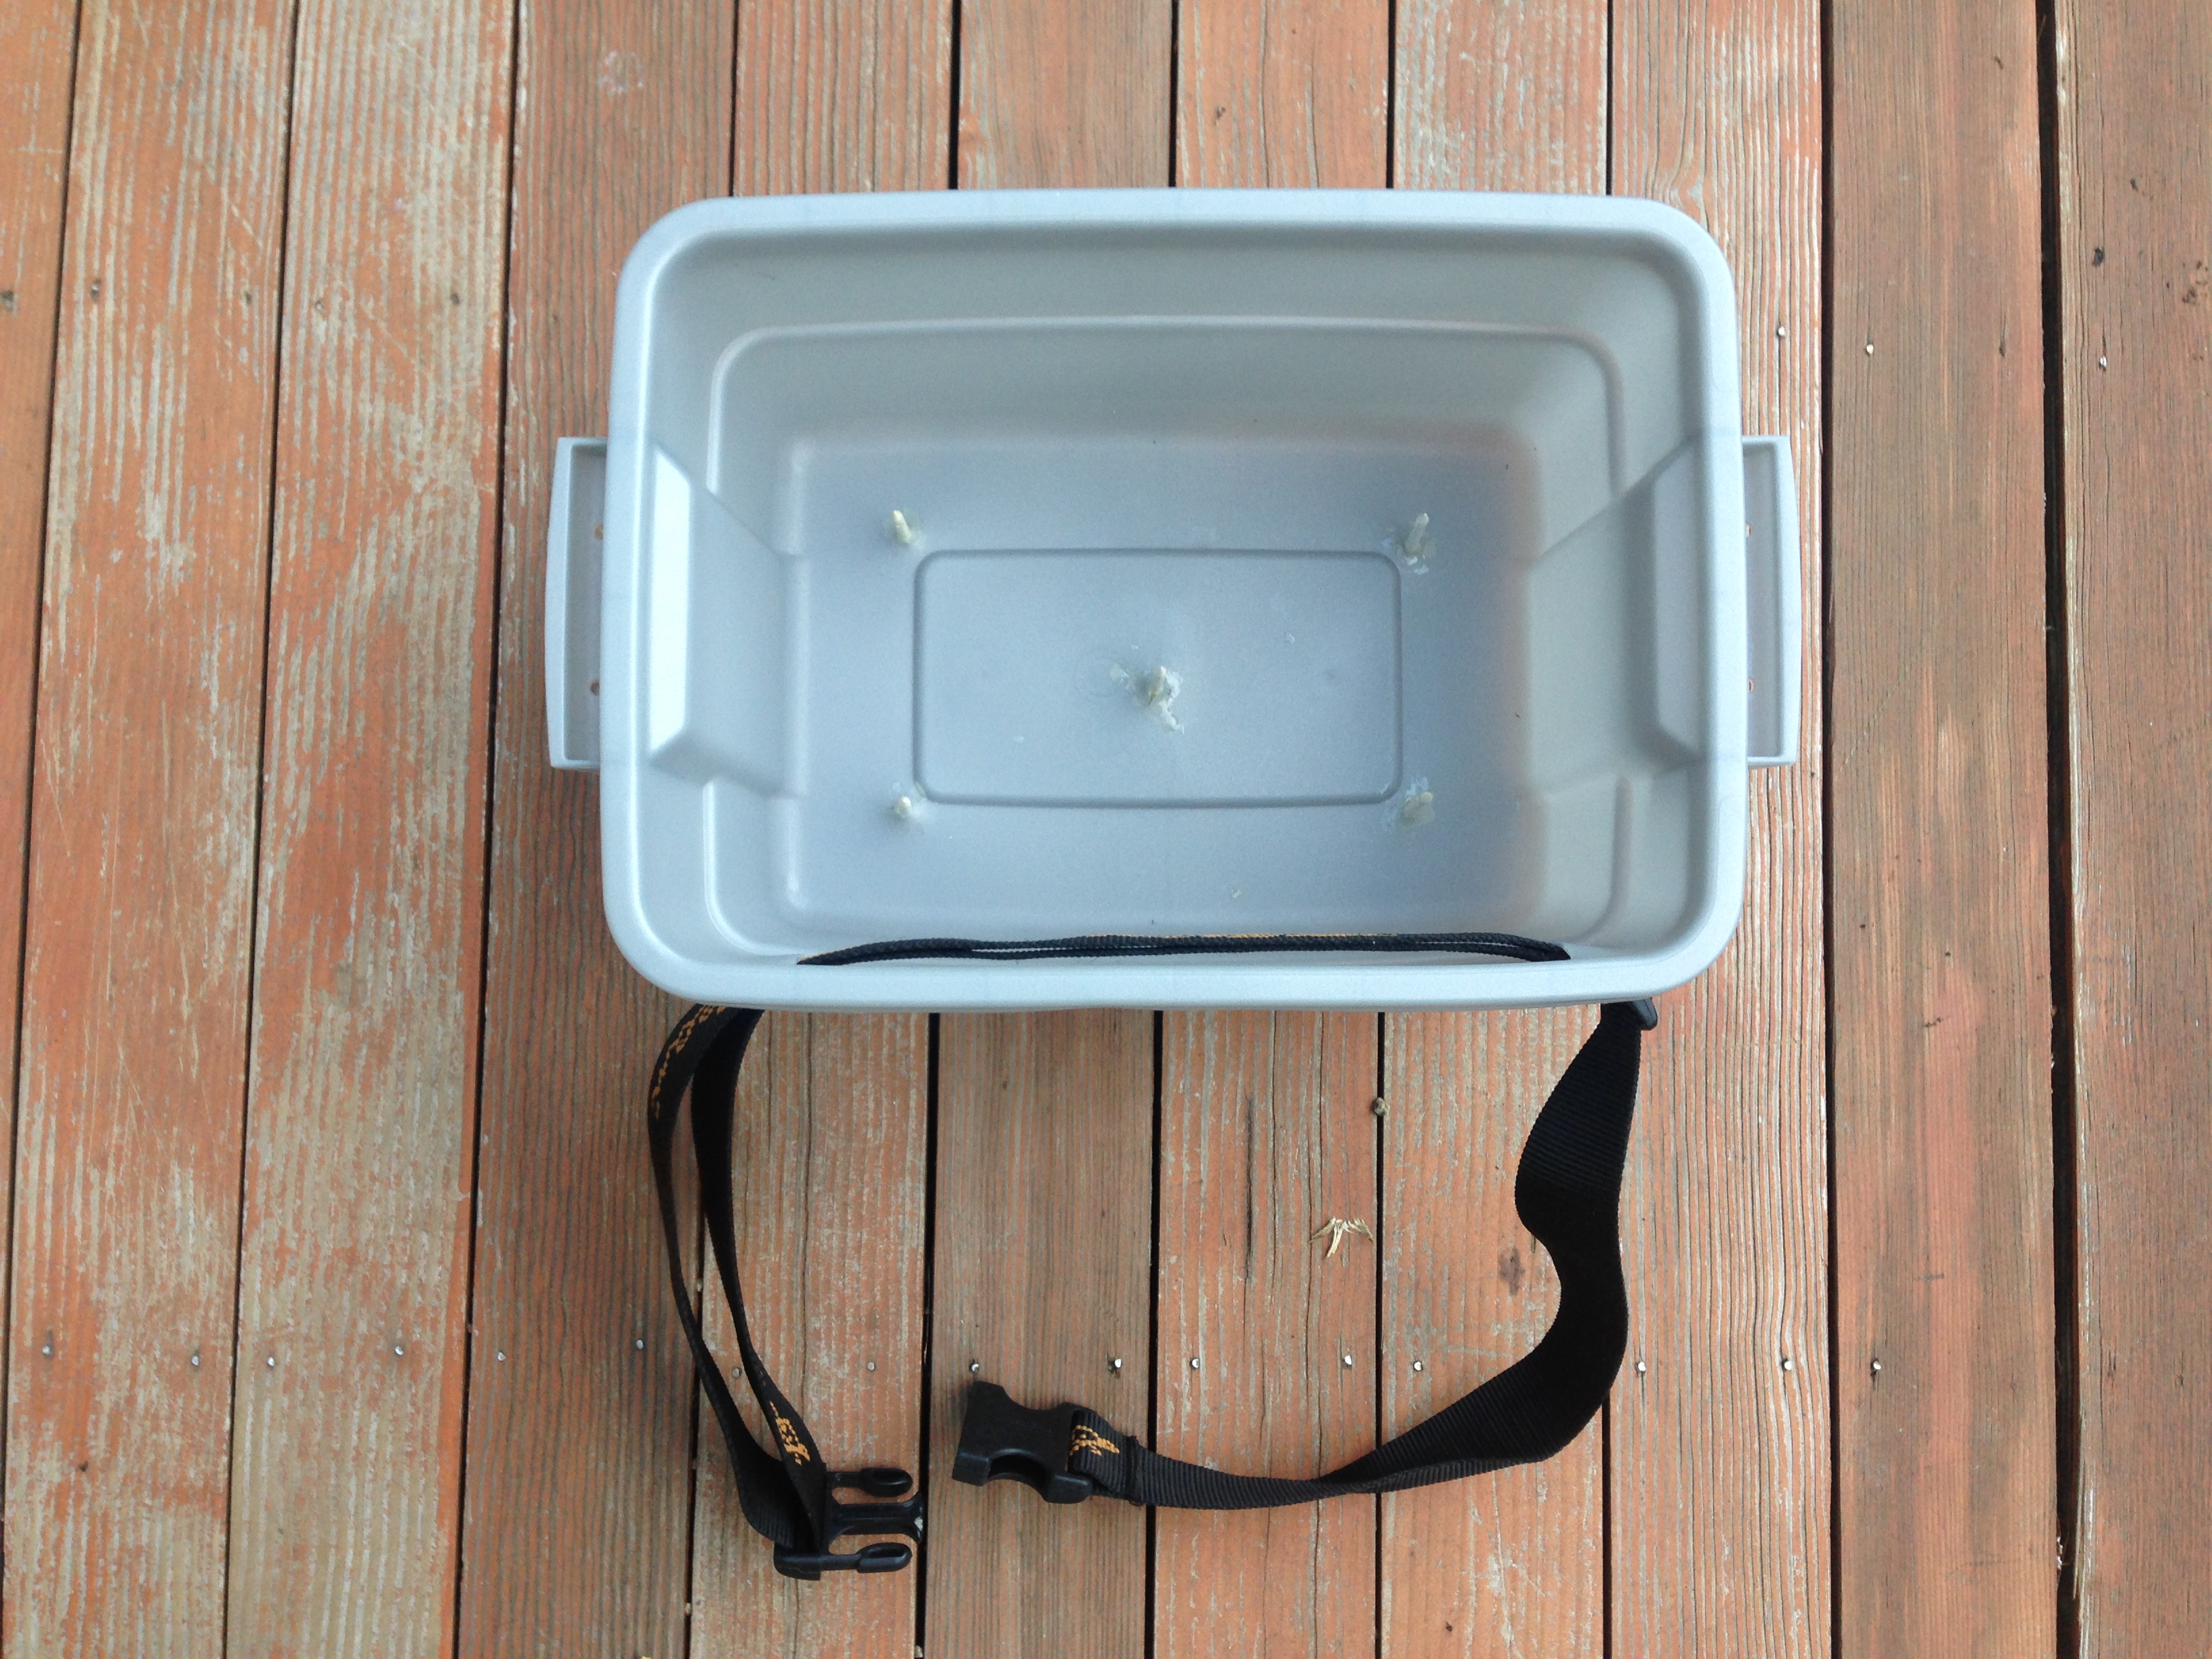
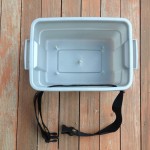
A finished DIY stripping basket.
What You’ll Need:
– Cheap plastic dish pan
This baby step from IKEA (FÖRSIKTIG for those are fluent in IKEA) has the great bonus of being curved, and so it fits to your stomach. Here’s what that stool looks like when converted. (Hat tip to my friends at Presenting the Fly for this suggestion.)
– An adjustable belt
Trueflies Peel’N Eat Quick Dry Belt
– Something to keep the line separated
Plastic Golf Tees (Pack of 50)
Chair Furniture Ferrule Floor Protector White Plastic
Chair Furniture Ferrule Floor Protector Grey Plastic
– Non-water soluble glue / solution
Or some commercial grade glue or caulking
Instructions:
How to assemble this stripping basket depends entirely on the materials you choose and the tools you have available. So I’ll only offer some tips, not step by step instructions.
– You want the holes / incisions you make for the belt loop to be roughly the width of your hips. If the dish pan is smaller than required (ahem), then cut the holes about an inch from the outer edges of the pan, to ensure the plastic doesn’t crack laterally.
– If you are concerned about the plastic breaking, reinforce the plastic around the are you cut for your belt. You can do this with glue / resin, with duct tape, or some other durable binding agent.
– DO NOT use a water soluble solution to affix the floor protectors (or whatever you use) to the plastic. They will quickly fall off. Obvious? Yes, but you’d be surprised!
– Whatever you choose to keep the line separated should be evenly spaced on the bottom of the stripping basket. There should be enough to keep the line separated, but enough to allow the line to fall flat onto the bottom of the basket.
Here are some other great wading basket solutions:
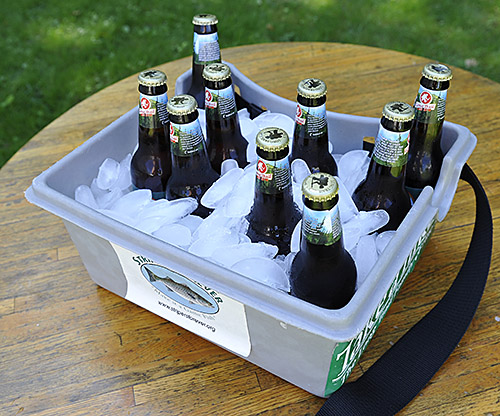
From Ed Mitchell Outdoors.
What about you? What are your recommendations? Want to share photos of your DIY stripping baskets? Email bhcarmichael AT gmail your photos along with a note and we’ll post them.
Comments are closed